 My father didn’t do much cooking. Chiefly, he’s remembered for accidentally setting fire to the kitchen while trying to cook bacon and watch the World Series simultaneously. We’ve never been much for multi-tasking. But the man could make a really good pound cake – dense, crusty, delicious. Where he got his recipe is unknown to me, but lately I found one very much like it in my mother’s recipe box. It was an old, brown newspaper clipping taped to a file card. It is beyond delicious! It’s tall and just the right density, and so buttery. You will love it, and your guests will think you are the greatest baker ever.
SOUR CREAM POUND CAKE
EQUIPMENT:
- stand mixer (hand mixer will do, but you may get tired)
- two mixing bowls
- sifter
- measuring equipment
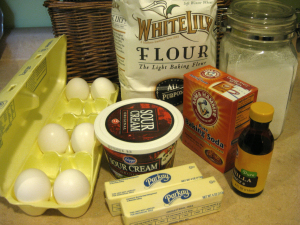 rubber spatula
- tube cake pan
- flour-cooking oil spray
INGREDIENTS:
- 3 cups all purpose flour
- 1/4 teaspoon soda
- 2 sticks margarine, softened (to room temp or 15 secs in microwave)
- 3 cups sugar
- 6 eggs, room temperature
- 1 cup sour cream
- 1 teaspoon vanilla (or lemon extract or both)
LET’S GET STARTED:
Preheat oven to 325 degrees.
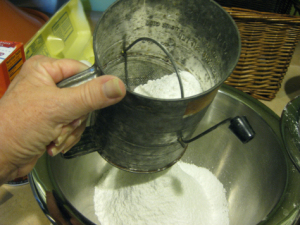 Set mixing bowls side by side. Measure flour into one bowl. Set sifter into the other bowl, transfer flour into sifter and sift. Repeat two more times back and forth. On second sift, add soda and dash (1/2 teaspoon) of salt.
In your mixer, cream the softened margarine on medium-low speed (Use the batter beater, not the whisk one).
Slowly add 3 cups sugar and cream well until light and fluffy. Scrape bowl bottom with your spatula to ensure everything incorporates well. Add 6 eggs, one at a time, beating well after each addition.
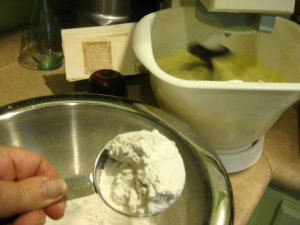 Stir in sour cream. Lower mixer speed. (If the mixer’s on too fast, it will blow flour all over the place. Carefully add dry ingredients 1/3 cup at a time, beating constantly. Scrape bottom with spatula again.
Stir in vanilla extract. (Just don’t over-beat the batter. I have no definition for “over-beat” – just do it long enough to incorporate everything.
Hold your tube pan over the sink and spray it thoroughly inside, tube too, with flour-cooking spray. Pour cake mixture into it.
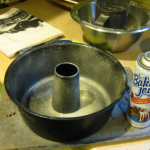
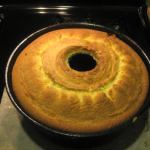
Bake 1 hours 15 minutes (75 minutes).
Allow to rest 10 minutes, then place large plate on top of cake pan and (with heat pads) carefully flip so that the plate is on the bottom. Carefully lift cake pan away from cake. Place another plate onto the cake’s bottom (which is facing up.) Flip cake/plates again so that your cake is now upright and ready to cool. Terrific plain, but out of this world with real whipped cream (and some berries, too).
NOTE – This cake can be frozen, but I say just eat it! If you want to freeze it, wrap it in several layers of plastic wrap and a final layer of aluminum foil.
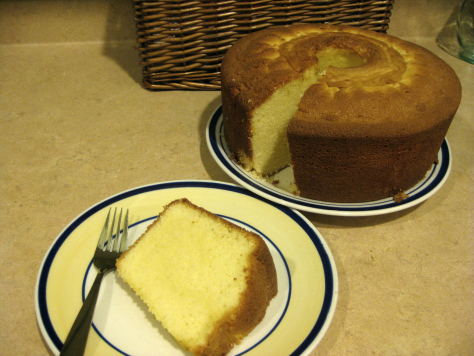
All Photos Courtesy of Patsy Brumfield and www.newinnola.com


When I try to print a recipe, the print icon doesn’t work. It just keeps opening another tab…
Anne, I just tried highlighting it and printing my selection, and that worked okay. Try that, and I’m sure Mary will figure out the problem with the print icon. Sorry ’bout that!
Happy Thanksgiving!
Sounds like a great recipe. I can’t wait until I can talk my wife into trying it. I learned a long time ago what your Dad learned about cooking and watching sports at the same time.